There's a reason brow lamination has become a go-to for those seeking fuller, more defined arches with minimal daily effort. You achieve a polished look that lasts weeks, not hours, through a non-invasive chemical restructuring process. You're likely drawn to its promise of symmetry and shape, but understanding what the treatment entails-its benefits, risks, and …

There’s a reason brow lamination has become a go-to for those seeking fuller, more defined arches with minimal daily effort. You achieve a polished look that lasts weeks, not hours, through a non-invasive chemical restructuring process. You’re likely drawn to its promise of symmetry and shape, but understanding what the treatment entails-its benefits, risks, and upkeep-is imperative before booking your appointment.
Understanding the Science of Brow Lamination
Brow lamination relies on altering the disulfide bonds within each hair strand to reposition growth patterns. You undergo a chemical process similar to a perm, tailored specifically for facial hair. The treatment temporarily breaks and resets these bonds, allowing hairs to lie flat in a uniform direction. Results appear fuller and more structured, lasting several weeks with proper care.
How Chemical Solutions Restructure Hair Bonds
A lifting agent containing thioglycolate softens the hair’s disulfide bonds, making it malleable. You remain under close supervision as the solution sits for a precise duration. Once lifted, the hairs are brushed into the desired shape. A neutralizing agent then re-forms the bonds, locking them in place. Overprocessing risks weakening the hairs, so timing is strictly controlled.
Achieving the Signature “Fluffy” Aesthetic
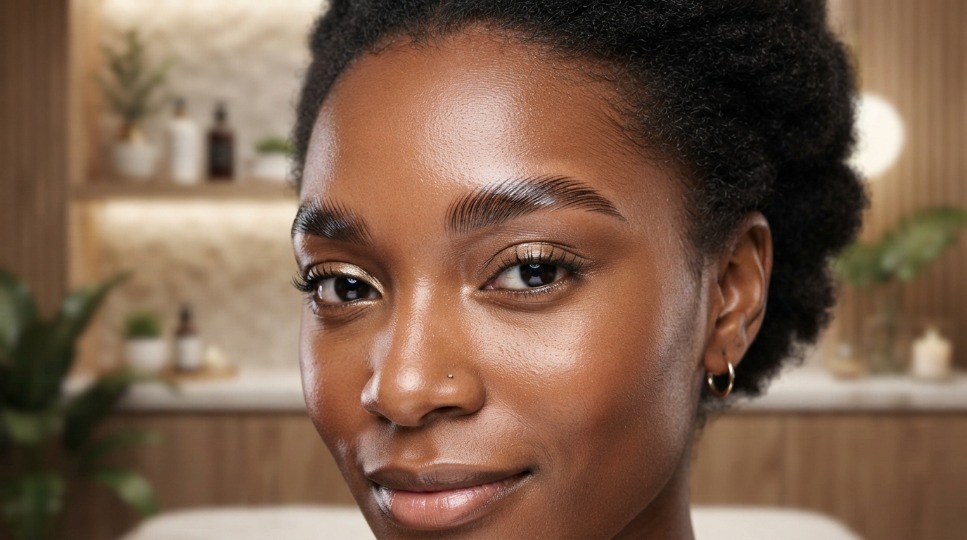
Brushing the treated hairs upward creates volume at the brow’s base, giving the fluffy look popularized by beauty influencers. You achieve this effect through precise product application and directional setting. The hairs stay upright and spread evenly, mimicking naturally full brows. This style works best on medium to thick hair density.
Volume emerges from the way each hair is repositioned above the skin’s surface, not from added products or pigments. You see immediate lift, with hairs fanned outward in a soft, feathery arrangement. A mid-sized SaaS firm’s marketing director, after her first session, noted her brows looked “like Photoshop made real.” The effect smooths sparse areas without tattooing or microblading, relying solely on restructuring existing growth.
Determining Candidacy and Safety
Most individuals seeking fuller, more structured brows are potential candidates for lamination, provided they have healthy skin and intact hair follicles. A clear understanding of your brow condition and medical history ensures the treatment aligns with your aesthetic goals without compromising safety. Knowing your unique profile helps prevent adverse outcomes.
Ideal Hair Types and Skin Conditions
Coarse, unruly, or downward-growing brow hairs respond best to lamination, as the chemical process reshapes the hair shaft effectively. Those with oily skin may experience shorter retention due to sebum breakdown, while dry or normal skin typically supports longer-lasting results. Sensitive skin can tolerate the treatment if properly assessed. Knowing your hair and skin profile guides realistic expectations.
- Best results occur with thick, coarse brow hair
- Downward or curly growth patterns benefit most
- Oily skin may reduce longevity of the lift
- Intact skin without active irritation is required
- Previous keratin treatments do not interfere
| Hair Type | Effectiveness |
| Coarse and thick | High – holds shape well |
| Fine or sparse | Moderate – subtle improvement |
| Curly or twisted | High – straightens effectively |
| Previously tinted | Compatible – no interference |

Critical Contraindications and Patch Testing
Active dermatitis, psoriasis, or recent brow trauma disqualify you from undergoing lamination. A patch test 24-48 hours before treatment checks for allergic reactions to lifting or neutralizing agents. Knowing your skin’s sensitivity prevents complications such as redness, blistering, or pigment changes.
Individuals using topical retinoids or chemical exfoliants on the brow area may experience compromised skin barriers, increasing irritation risk. Those with a history of keloid scarring or eczema near the brows should proceed with caution. Patch testing involves applying a small amount of product behind the ear or on the inner forearm to monitor for adverse reactions. Reactions, though rare, can include swelling or itching, warranting treatment postponement. Always disclose your full skincare regimen and medical history during consultation.
Pre-Treatment Preparation Guidelines
Follow specific steps in the days leading up to your appointment to ensure optimal results and minimize complications. Your technician will guide you through key actions that support a smooth treatment process and enhance the final appearance of your brows.
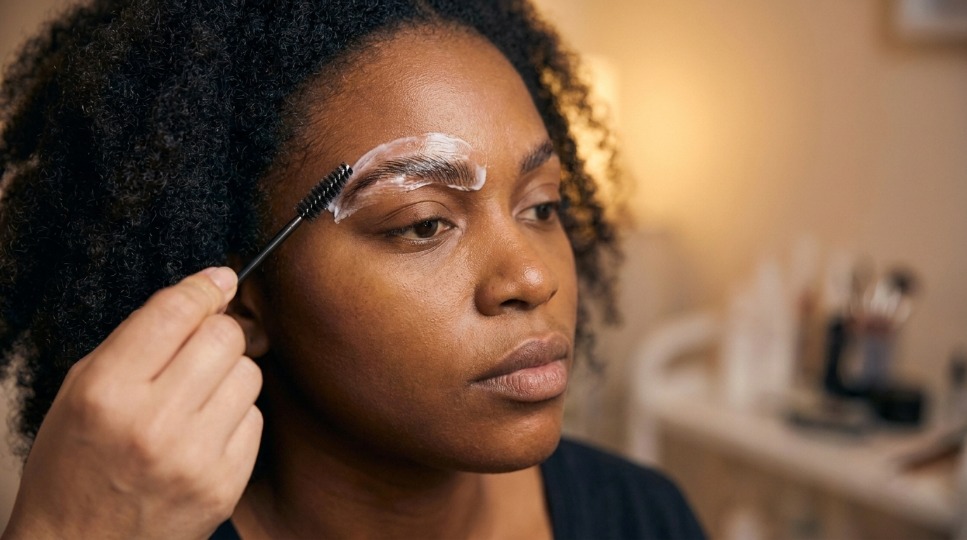
Skincare Ingredients to Avoid Before Your Session
Stop using retinoids, glycolic acid, and other exfoliating agents at least three days prior to your appointment. These ingredients can increase skin sensitivity and compromise the integrity of the brow area, potentially leading to irritation during chemical processing.
Optimal Brow Growth and Grooming Status
Brows should be left untouched by waxing or threading for at least two weeks before treatment to ensure adequate hair length. Trimmed hairs provide better grip for the lamination solution and allow for more precise shaping during the setting phase.
Avoid plucking or shaping your brows in the week before your session to maintain natural growth patterns. A mid-sized SaaS firm’s employee reported improved symmetry after allowing full regrowth, demonstrating how undisturbed hair supports even product distribution and directional control during lamination.
The Professional Procedure Breakdown
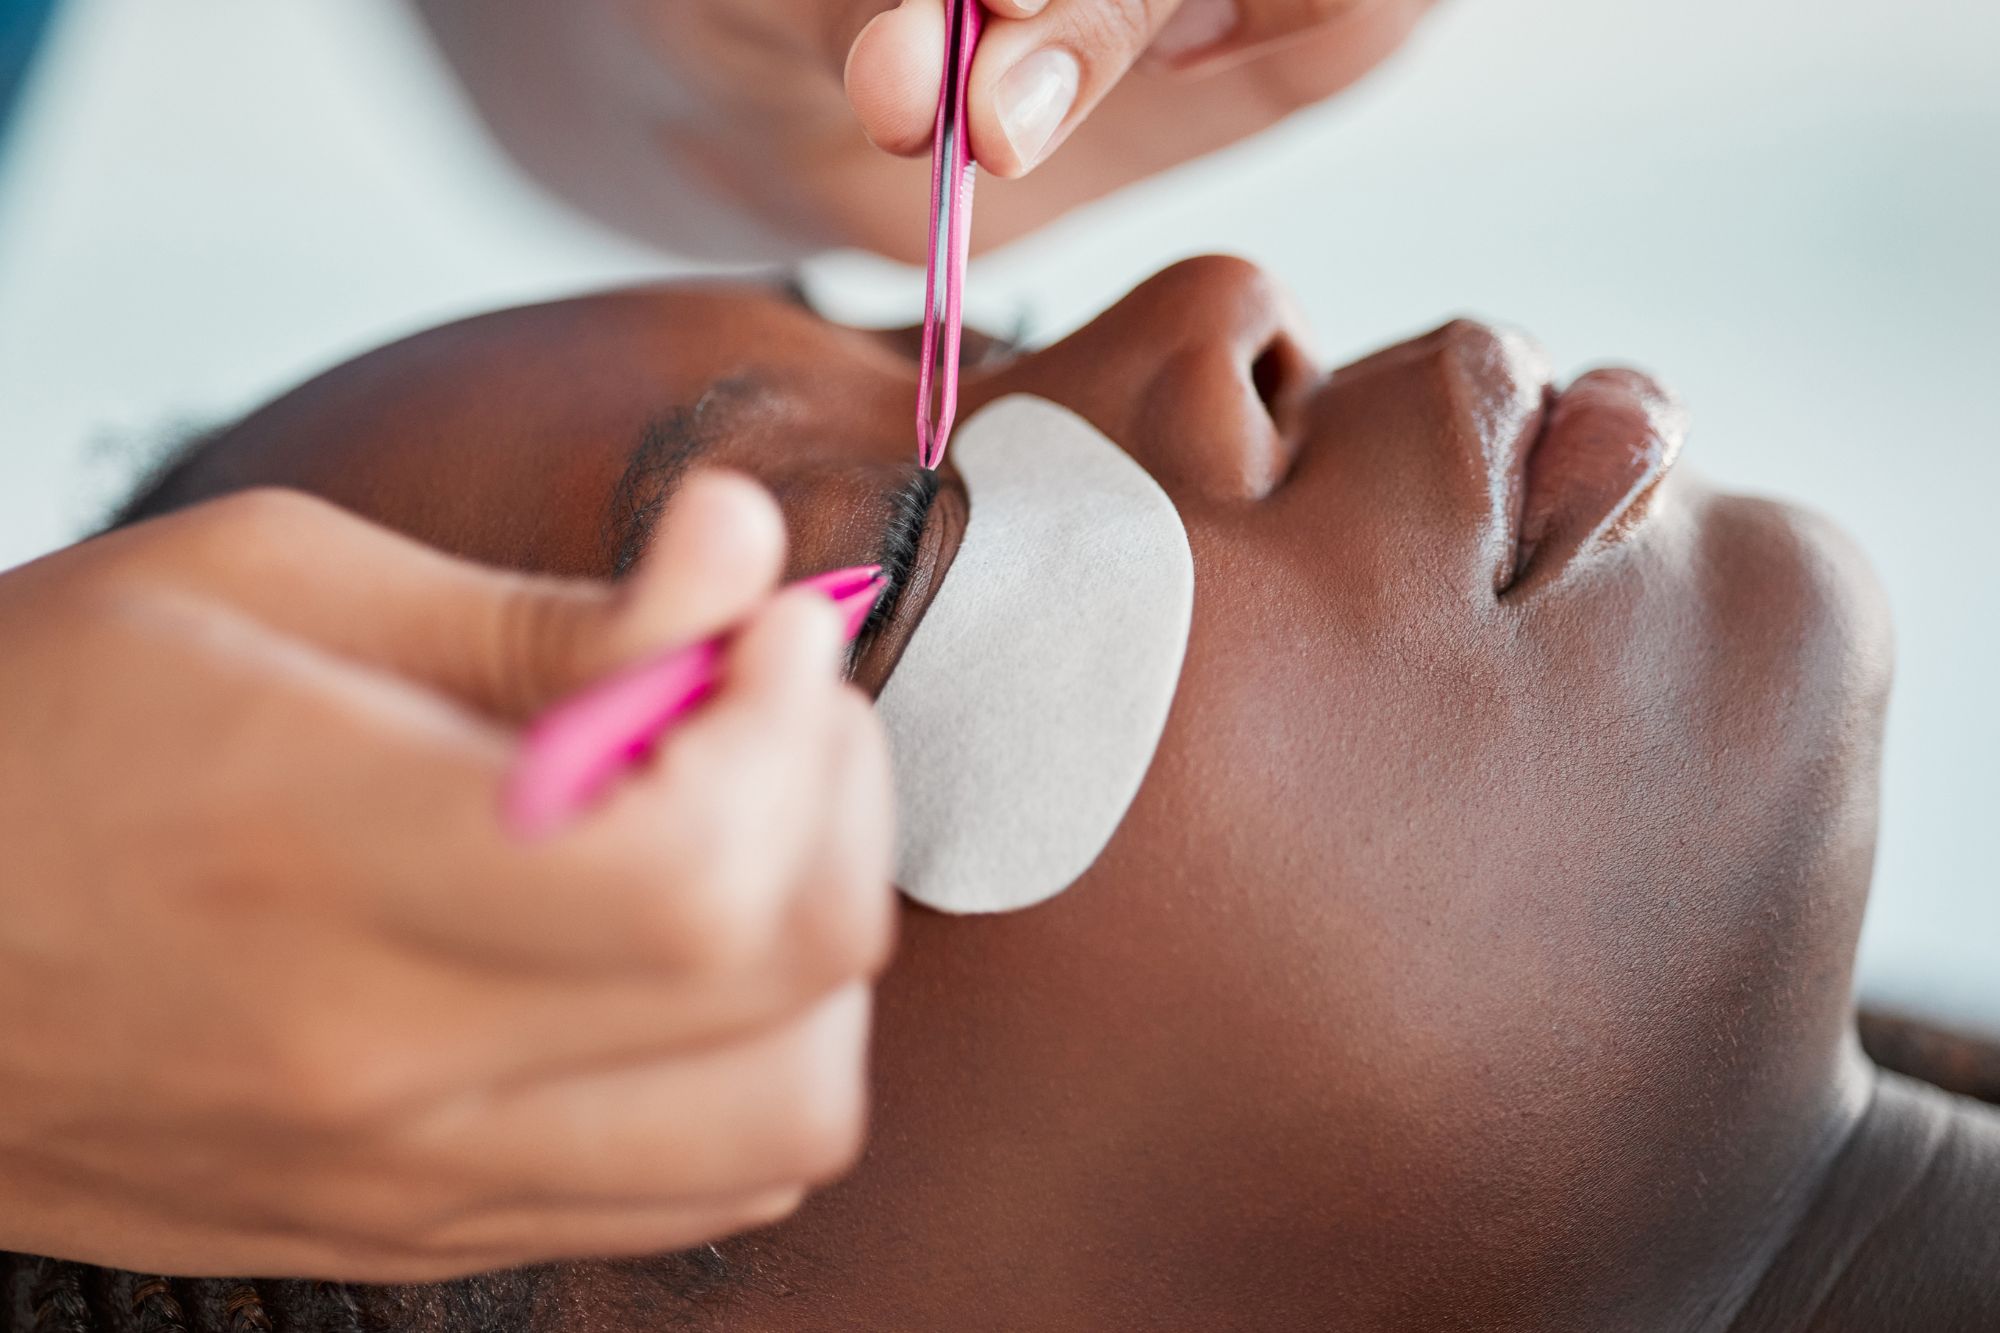
Each step in brow lamination is designed to reshape and set your natural hairs in place using a controlled chemical process. You remain seated comfortably while the technician works precisely, ensuring symmetry and adherence to your desired shape. The full in-chair experience typically lasts 45 to 60 minutes, with most of the time dedicated to careful application and timing accuracy.
Mapping and Shaping the Brow Arch
Mapping begins with measuring your facial proportions to define the ideal start, peak, and tail of each brow. The technician uses a spoolie and pencil to mark these points, adjusting slightly for natural asymmetry. This step ensures your brows complement your bone structure and facial features, creating a balanced, intentional look before any product touches your skin.
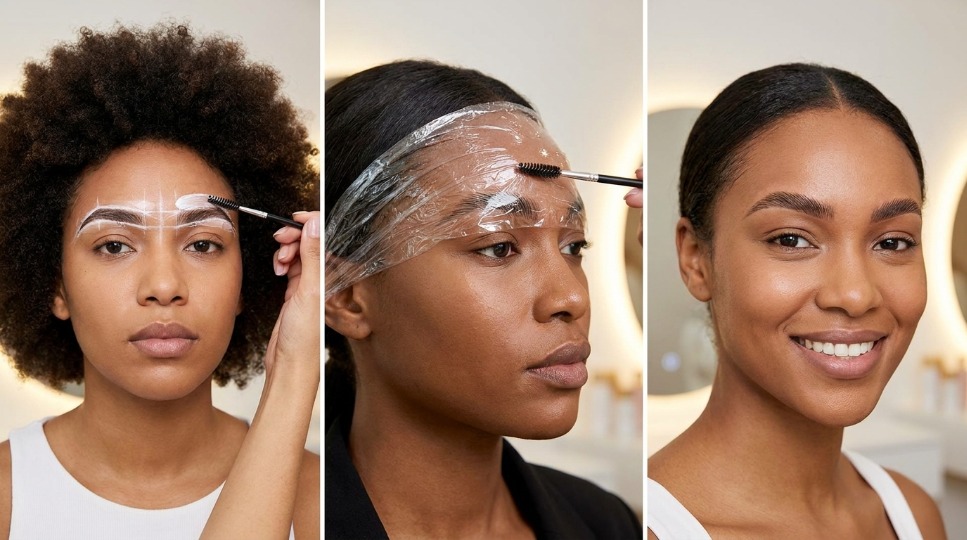
Application, Processing, and Neutralizing Phases
A conditioning cream lifts the brow hairs, breaking disulfide bonds to make them malleable. After several minutes, the technician brushes the hairs into the desired upward position. A neutralizing solution then re-bonds the structure, locking the new shape in place. Timing is strictly monitored to prevent over-processing and irritation.
During the application phase, the lifting cream is applied only to the brow hairs, avoiding the skin to reduce sensitivity risks. Processing time varies based on hair thickness, typically ranging from 6 to 12 minutes. The neutralizer is applied promptly and left for a similar duration, stabilizing the restructured proteins. A hydrating serum often follows to restore moisture and enhance shine, completing the chemical sequence safely.
Essential Aftercare for Lasting Results
Proper aftercare directly influences how well your laminated brows hold their shape and sheen over time. Avoiding moisture, heat, and manipulation immediately after treatment preserves the chemical setting process. Adhering to simple daily habits afterward extends the smooth, groomed appearance for weeks.
Navigating the Critical First 24 Hours
Keep your brows completely dry for the first day, skipping face washing around the area and avoiding sweat-inducing activities. Refrain from touching, brushing, or applying any products to prevent disrupting the bond formation. A client who exercised too soon noticed lifted hairs due to premature moisture exposure.
Long-term Hydration and Conditioning Protocols
After the initial drying period, apply a recommended oil-free serum nightly to support hair strength without breaking down the lamination. Use a clean spoolie to distribute the product evenly. Overuse of coconut oil, even once a week, can degrade the treatment faster than expected.
Consistent conditioning with a specialized brow oil helps maintain flexibility and shine without compromising the lamination’s integrity. Look for formulas containing biotin or panthenol, which support keratin structure. A mid-sized SaaS firm’s wellness program found employees who followed structured aftercare reported visibly fuller brows at six weeks.
Managing Longevity and Maintenance
Proper upkeep ensures your laminated brows maintain their polished shape and soft color over time. Exposure to moisture, sunlight, and harsh cleansers can degrade the results faster, so daily habits play a significant role. You’ll need to adjust your skincare and makeup routines slightly to preserve the treatment’s integrity without compromising skin health.
Typical Duration of the Laminated Effect
A brow lamination effect generally lasts between six to eight weeks, depending on your hair growth cycle and skin type. A client with oily skin may notice faster breakdown of the set shape due to sebum disrupting the bonds. The treatment gradually fades as new hairs grow in their natural direction, requiring a touch-up to maintain uniformity.
Safe Frequency for Follow-up Appointments
Returning for a follow-up every six to eight weeks aligns with the natural brow hair growth cycle and prevents over-processing. Reapplying the chemical solution too soon can weaken hair structure, leading to brittleness or thinning. Waiting until most new growth is visible ensures even treatment without overlapping on previously processed hairs.
Spacing appointments appropriately protects the integrity of your brow hairs and skin. A mid-sized SaaS firm’s employee, for example, maintained appointments every seven weeks during seasonal changes and saw consistent results without irritation. Your technician can adjust timing based on how your brows respond, especially if you’re exposed to chlorinated water or frequent sun.
Conclusion
When considering brow lamination, you now understand the chemical process reshaping your hair structure, the importance of assessing your skin and hair type for suitability, and the necessity of avoiding oils and exfoliants beforehand. You’ve learned the treatment typically involves perming, neutralizing, and conditioning solutions applied by a licensed technician, and that keeping your brows dry for 24 to 48 hours post-procedure supports optimal results. With proper maintenance, including gentle cleansing and periodic touch-ups every six to eight weeks, your laminated brows can maintain a polished, fuller appearance over time.